Overseas Project, Low Boost Supercharger
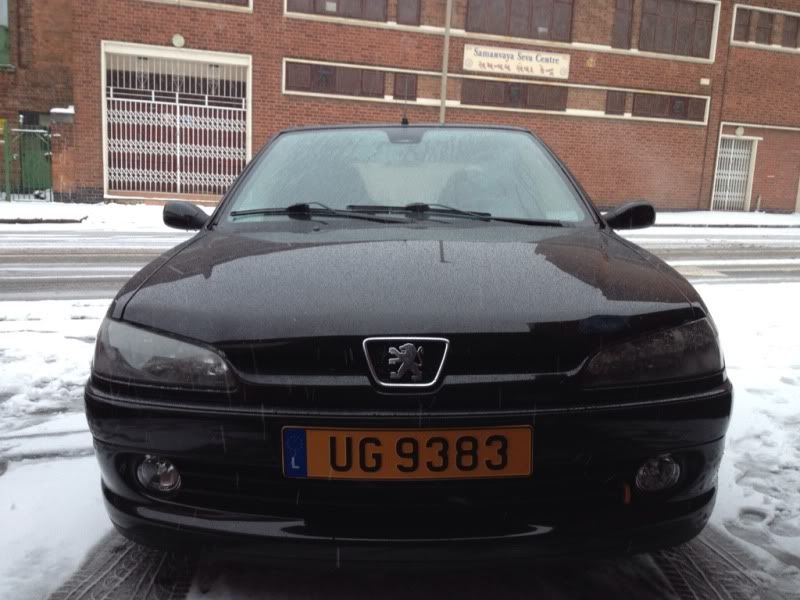
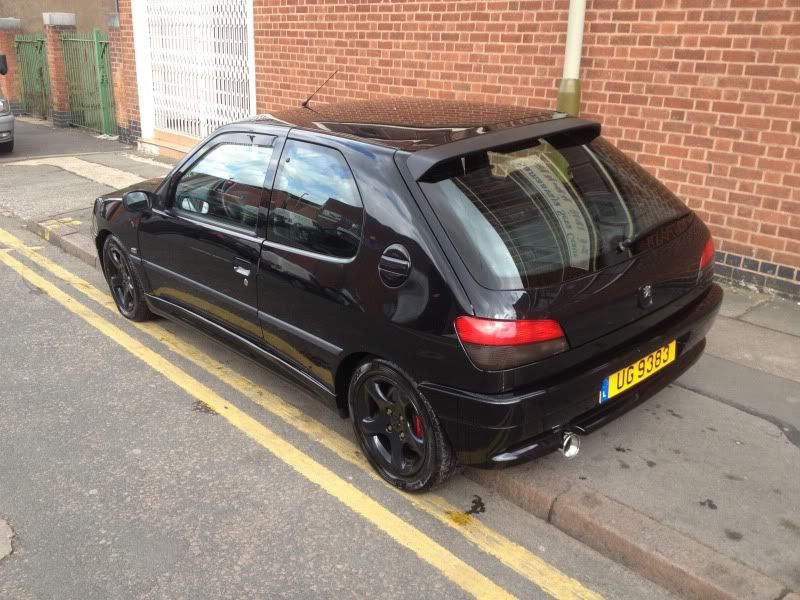
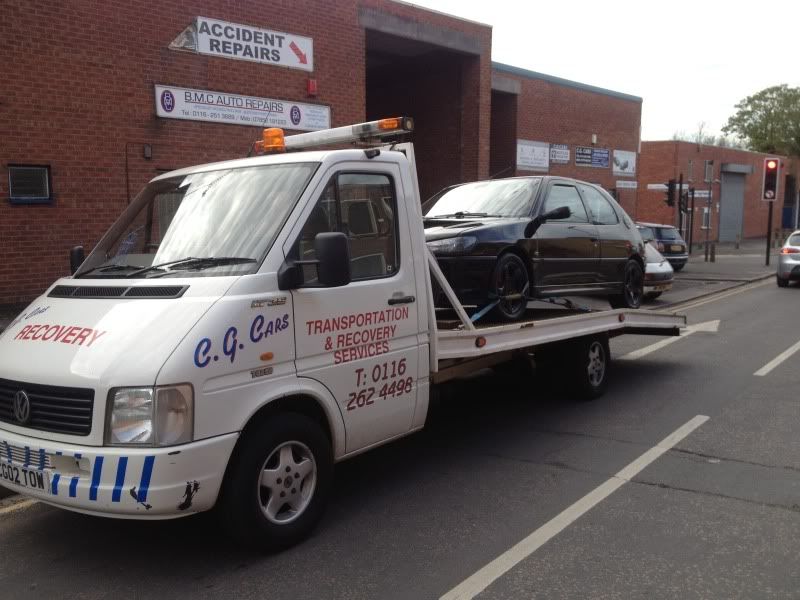
Thought I would whack it on here for you, after picking up the car from dover and driving it back nearly 200 miles in the rain it kinda looked ok, I had a spare a hour today so thought I would look at the paintwork you mentioned, it appears the bonnet and drivers wing has been replaced at some time, the wing is beyond repair as it has a good piece of paint missing and has started to rust.
Thought I would bring the bonnet back from the dead or see what impact I could make on it.
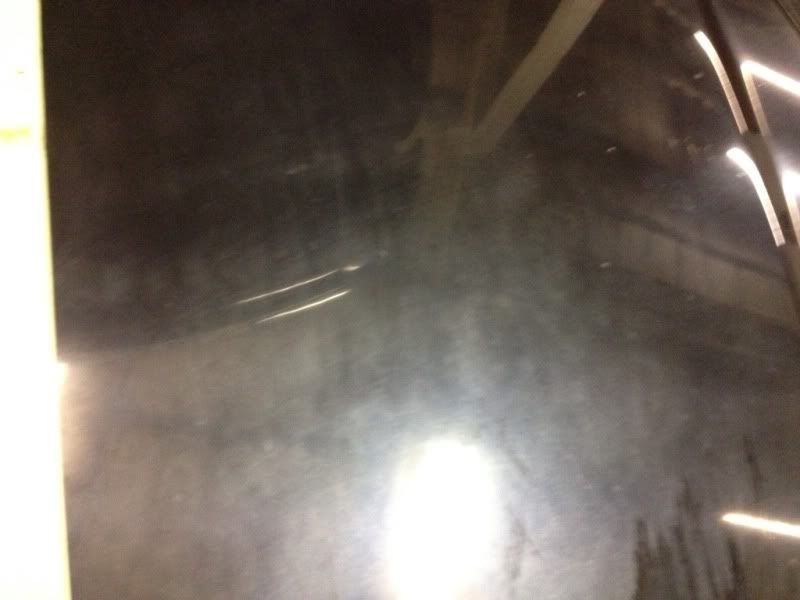
How it started- iPhone photos but it was very dull
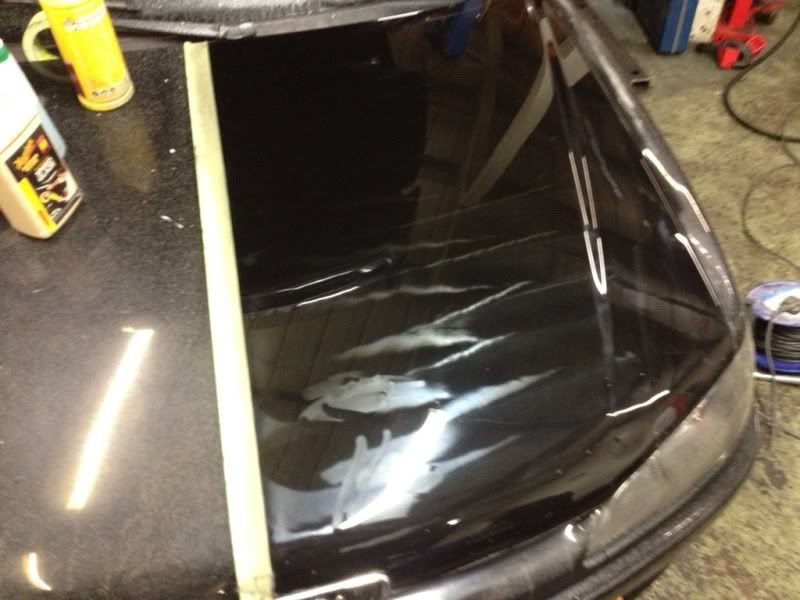
After a good going over with the g3 (harsh cutting compound), then a finer compound and speed glaze we were left with this-
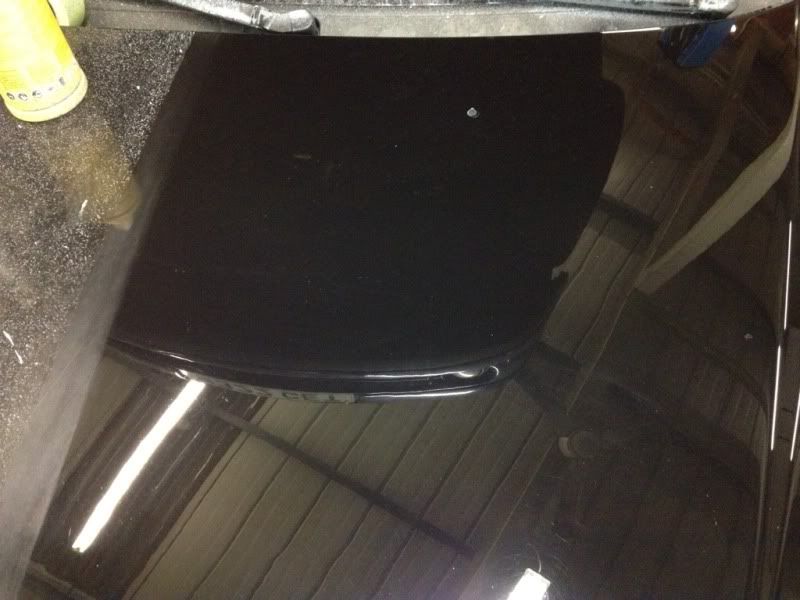
Then a bit of black hole we ended up with this-
I am no professional body man but like to think I can make it look better than it does, I only did half the bonnet and this is what I managed to do. Not too shabby.
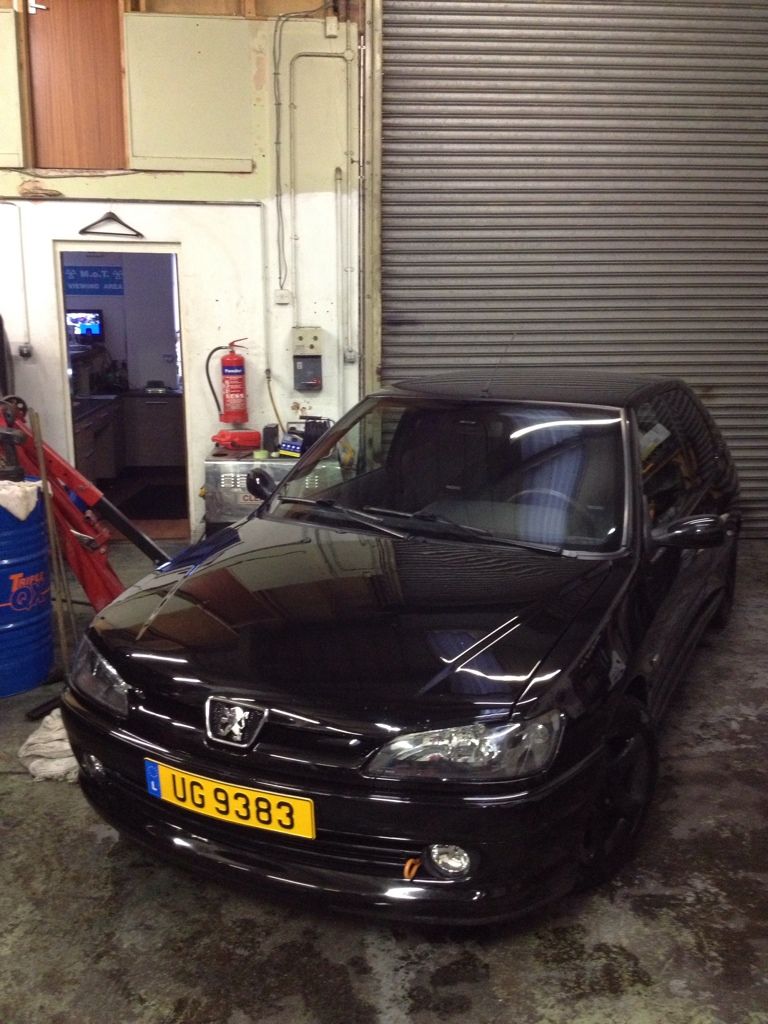
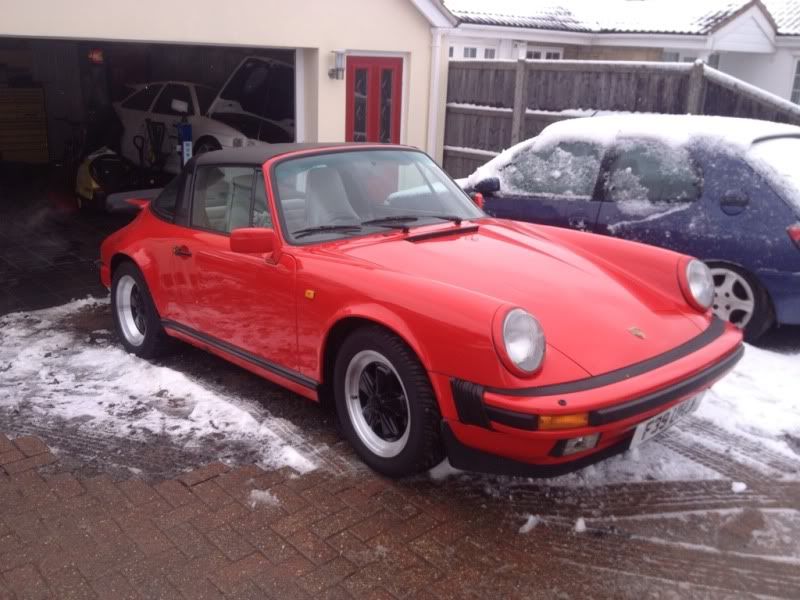
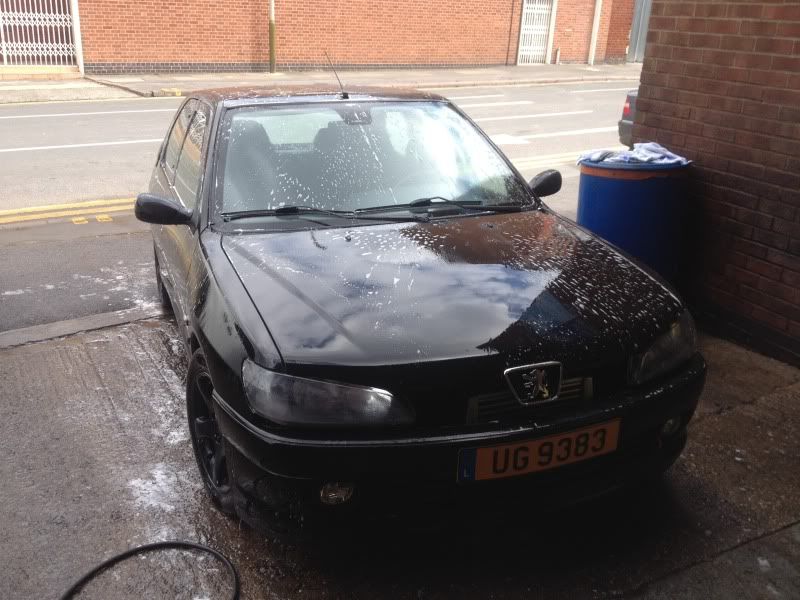
Well as its cold and wet I really didn't have a lot to do so thought I would dig the car out of the snow and take it work and give it the full machine polish treatment, bonnet and drivers wing must have been replaced or repainted some time or other as it was hard work to get it to shine.
What I started with, I was a bit dubious as to whether it would start it has been sat for a good few weeks, fired straight up-
Off we went to work after I had made my fingers feel like they was going to fall off (bloody cold), I don't have any photos during but just a few finished ones, all finished-
This was the result of about 6 hours of solid machine polishing, g3, speed glaze and then black hole mixed with some auto glym, plus all the plastics treated with a wurth product.
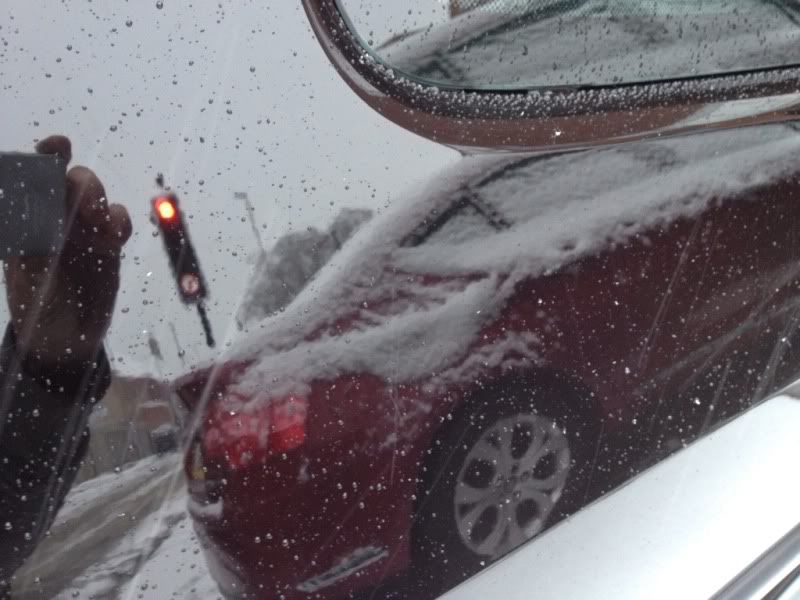
A few shots out doors, by this time it's started to snow again-
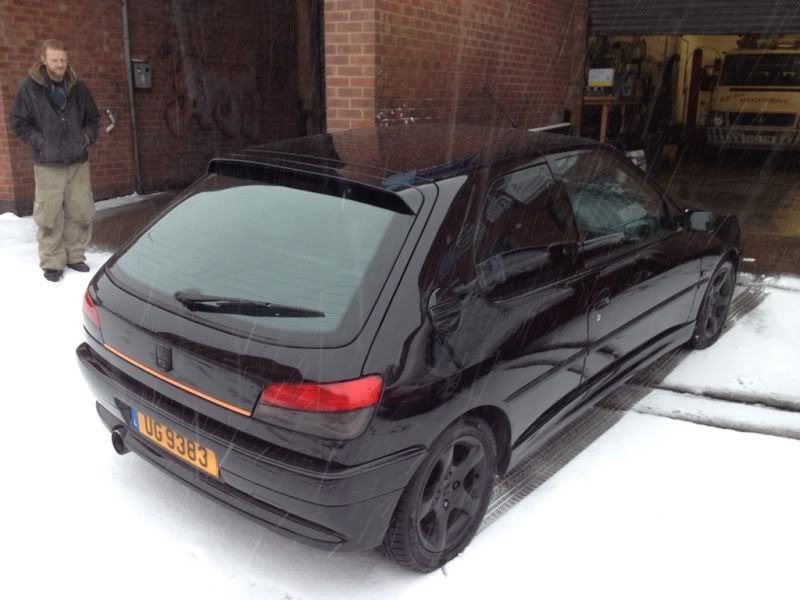
A friend of mine thinking I was nuts standing in the snow taking photos of a car, yet alone cleaning one in this weather.
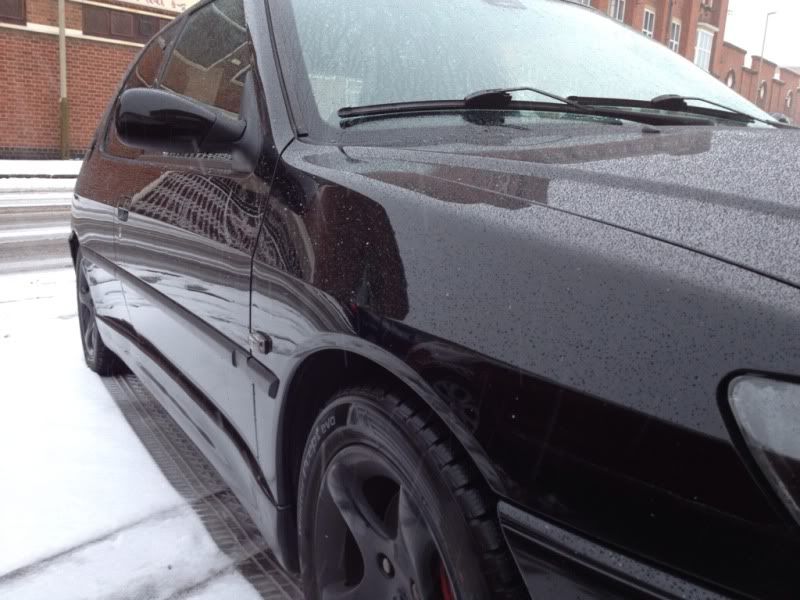

A reflection shot-
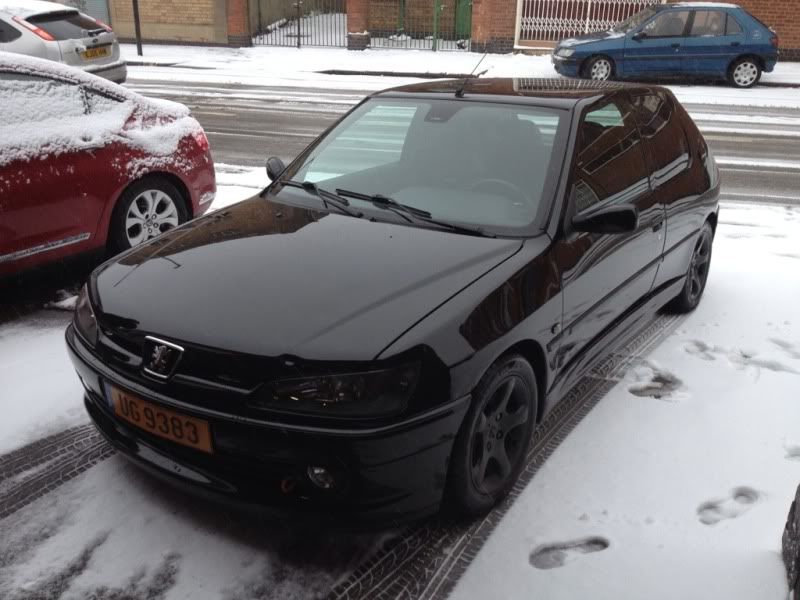
Well after all that I drove it the mile home and it now looks like this-

Well bodywork wise it it now requires is the drivers side wing to either be repaired and painted or replaced and painted as the edge has been damaged and rusted.
Also a dent on the leading edge of the bonnet.
Not too bad.....
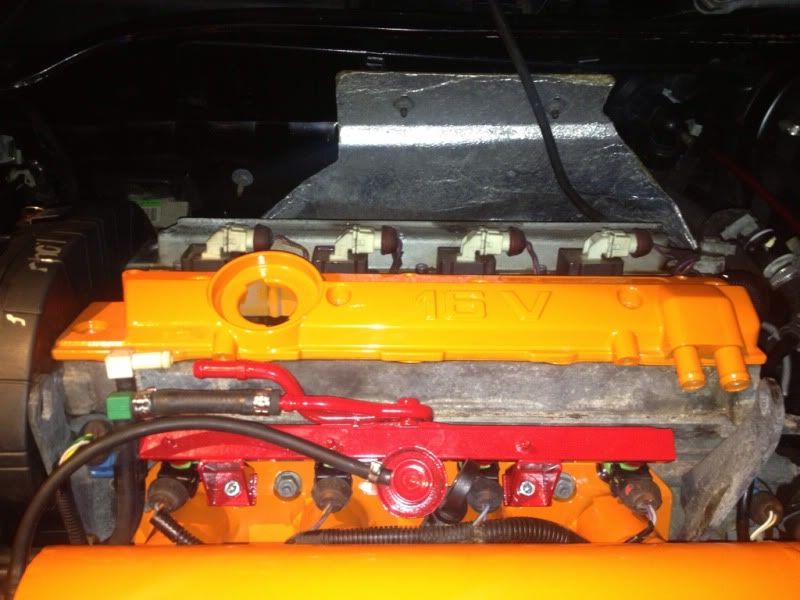
Got some engine parts all painted up in the customers colour (traffic light amber), its bright. Saved some paint for you macro in case you decide to have more bits done to match.


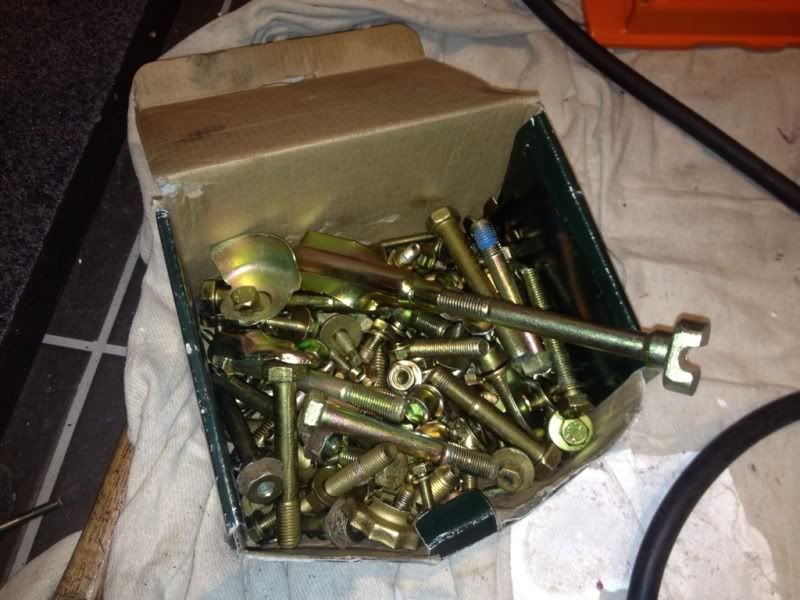
Whilst I was getting engine parts etc done I loaded up some of my own parts for the porsche and put them in too, I got most of it back together now, seemed the more I gave the painters the cheaper the bill was, seemed rude not to, also sent nuts and bolts etc off to be zinc plated.
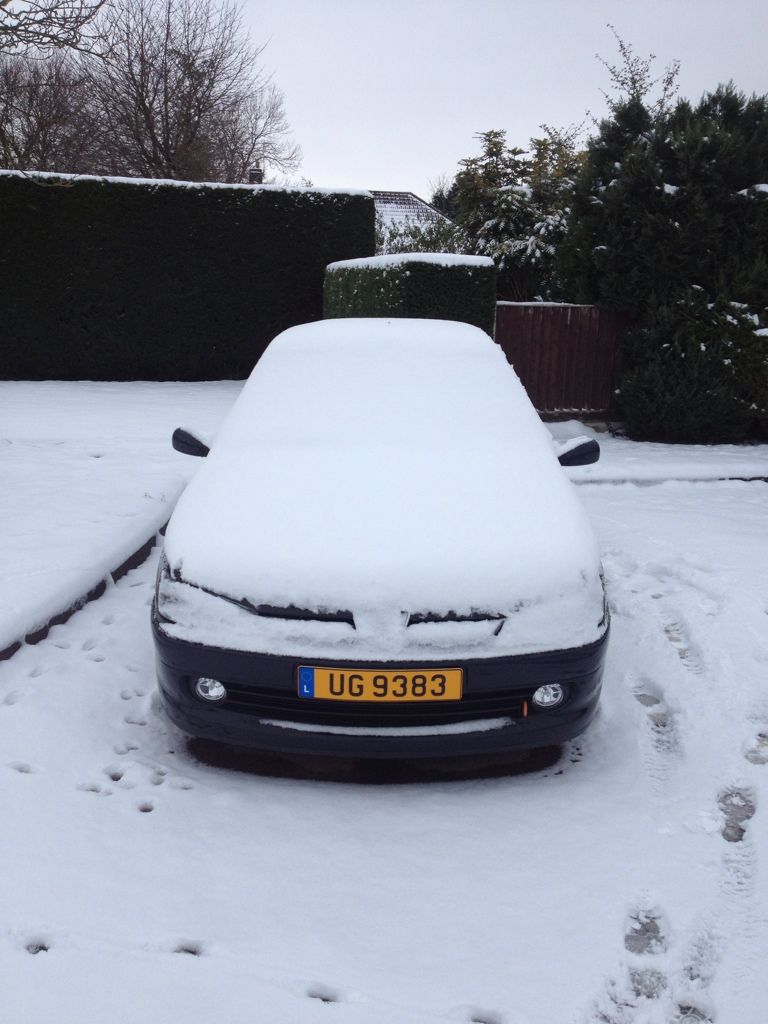
Well I have now received all the bits to get cracking on with this, I just had to un earth it and get it in to a state it wouldn't get my nice new garage dirty.
Started like this

Time to try out my old but newly refurbished hot washer, when the garage was being built, I daftly left this outside and it froze, a large repair bill later and I got on with the job.

This left me with this
I then decided to wash the engine bay off as it was a bit grubby, this way it keeps me from getting covered in crap, started with this

After spraying on the gunk, it doesn't look much but the crap that came off was unreal

After all that was done I had to make some space, marco you pain, it meant getting the old classic out and taking it to my other lock up, wasn't that excited about the s**tty salty roads.
Up you go

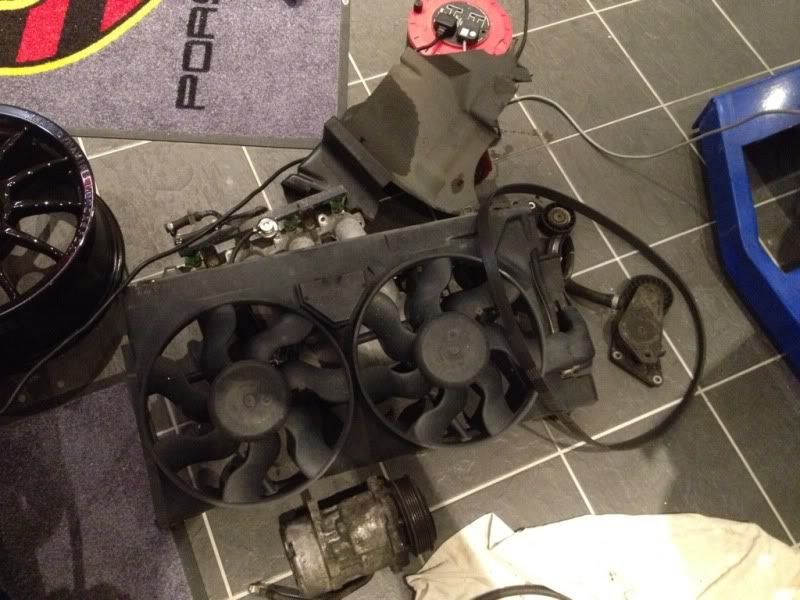
Pulled the front off complete, left me with this

After half an hour or so the missus brought me in a snack (bacon sand which and a coffee) ahh, a quick stop and off we go again. (Note another mashed gti6 head in the background)

This is what an hour of my time you are left with
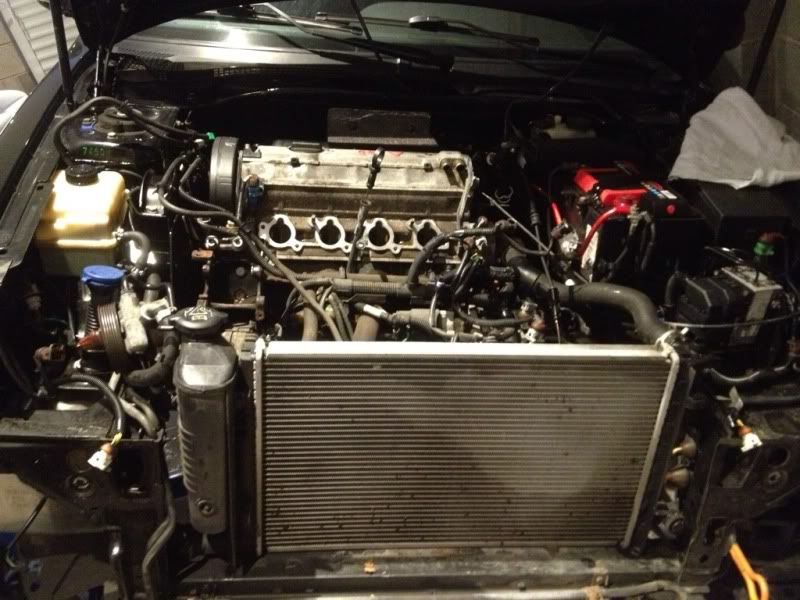
Complete front off, slam panel, lights, rad fans etc, inlet manifold off with the fuel rail etc, air con compressor off, idler pulley for the aux belt, aux belt tensioner and the power steering pump.
This is where I left it for tonight. Have to say its a very clean front, not much rust at all.
off to the garage to tango the motor.
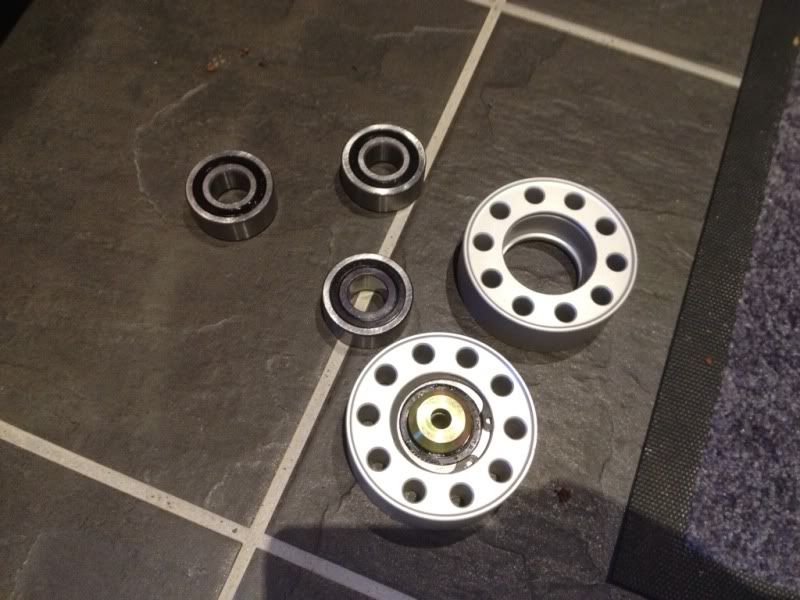
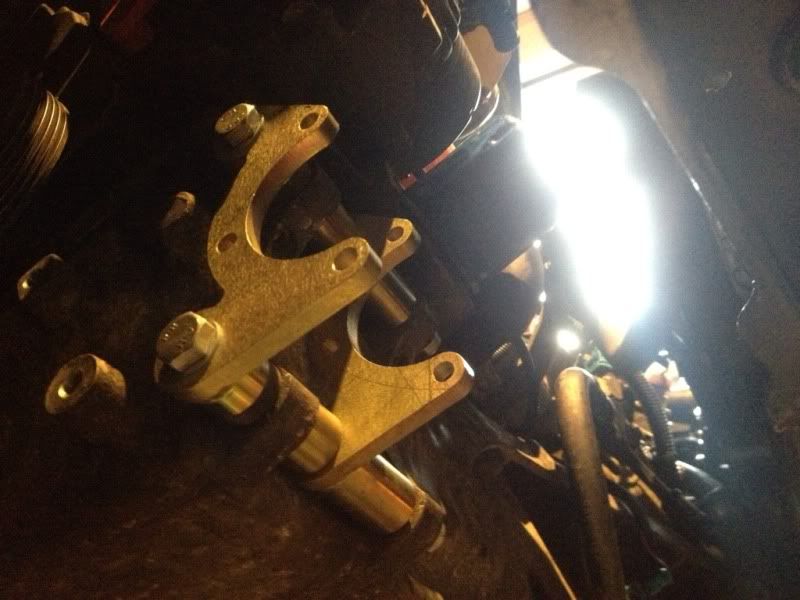
It was then I decided to fit the double roller bearings into the aux belt rollers

And fitted, secured with a c clip
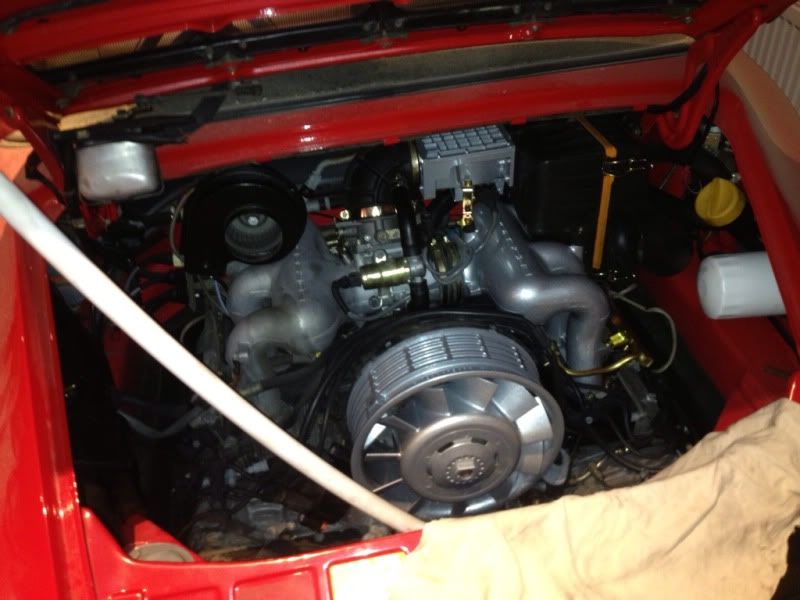
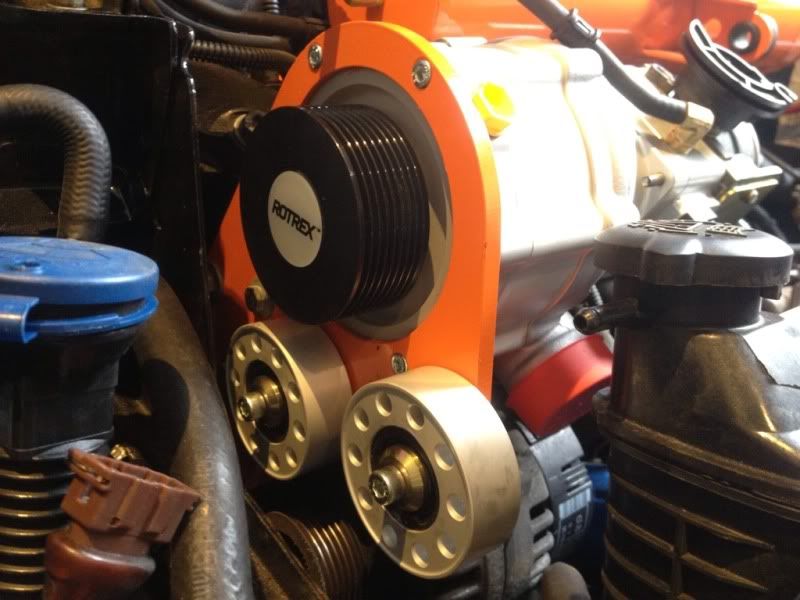
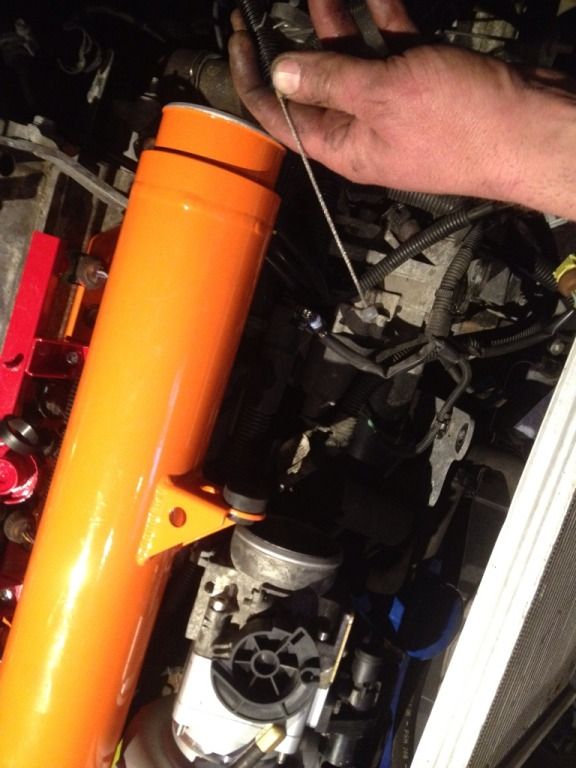
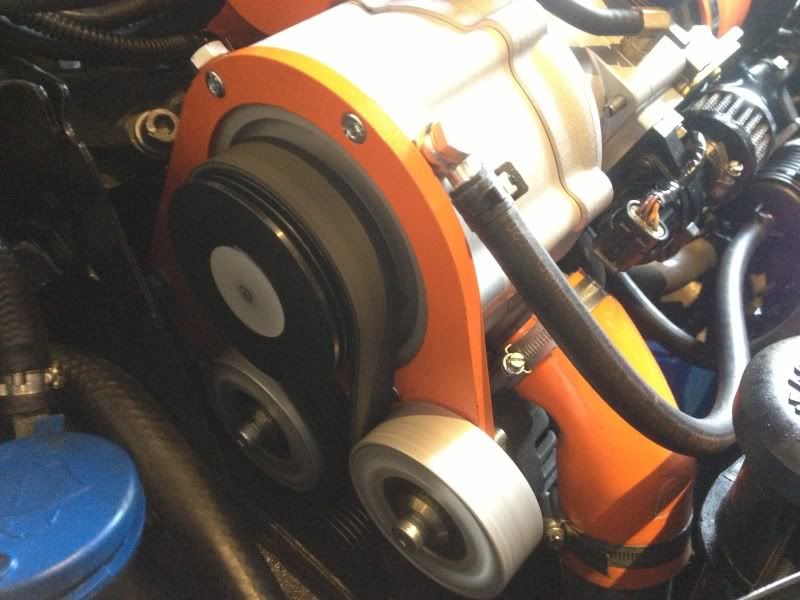
I then set about fitting this lovely piece of kit to the bracket.
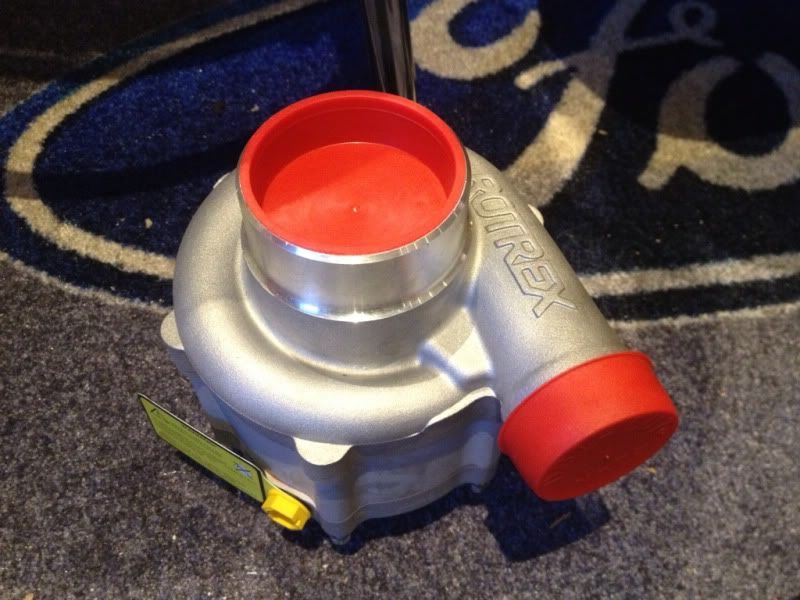
It's porn I tell you
It was then onto the bracket that's a very snug fit to the rear of the charger, this is sealed with a grooved in o ring and also houses the restrictor ring for the low boost model cars which this one is.
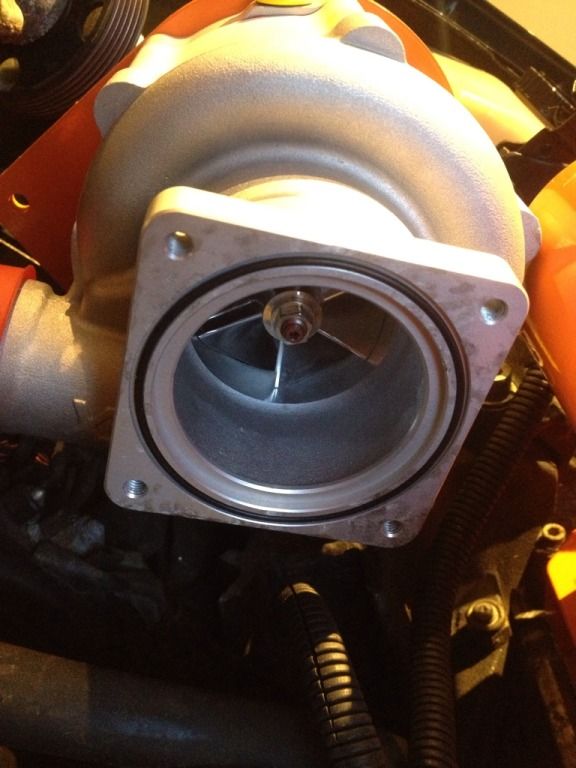
Boost restrictor ring, held in place here with a dot of sealer, held in place secure when the throttle body is all fixed into place.
Right only got half of it out, my dinner arrived.
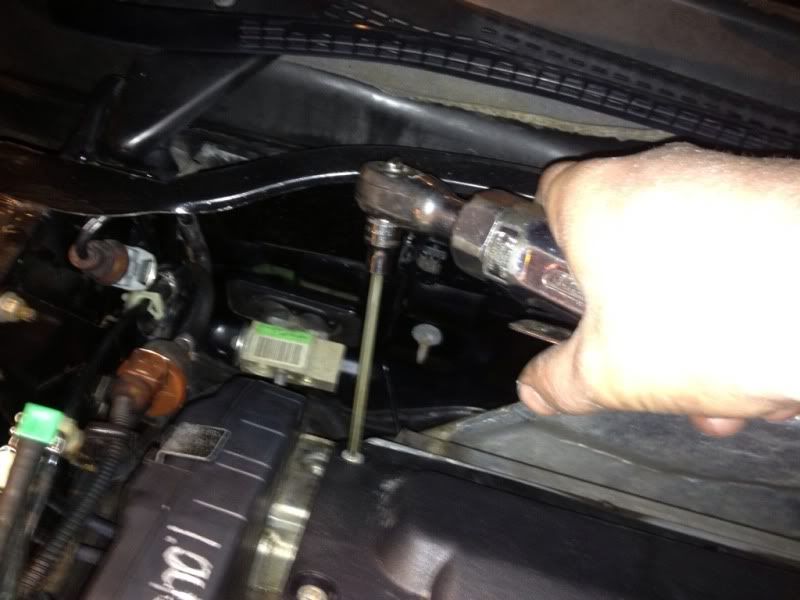
This bolt is a twat to get to on a right hand drive car, simples on this one
I decided the replace the rocker covers with the tangod pair, from this

To this, a little brighter.
At this stage we had the charger bracket, charger, inlet manifold and fuel rail with the larger injectors fitted, I never had the fixings to fit the aux belt pullies (bugger) .
With the new bits on it seemed mad to fit the old bolts, a rummage through my box and I found a few which worked a treat
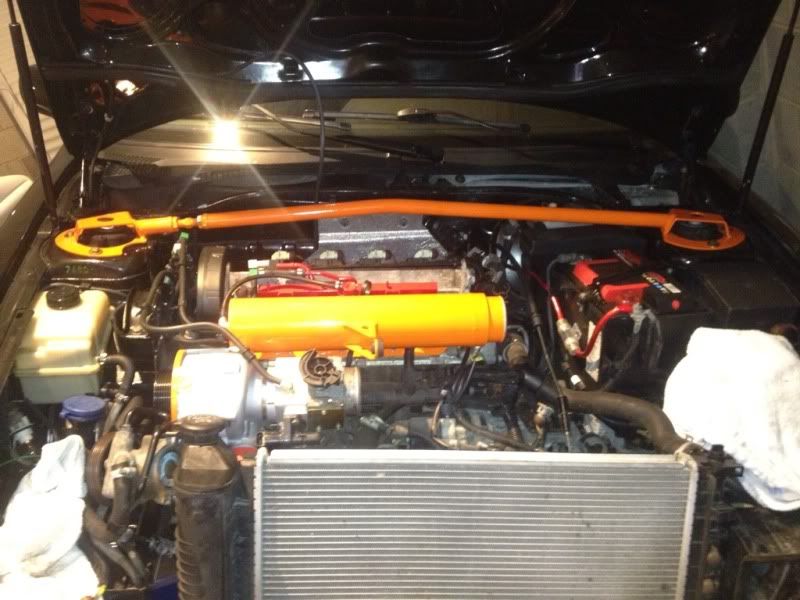
Fitted the strut brace and called it a night, coming along now.
Added a couple of little bits but boy are they the danglys,
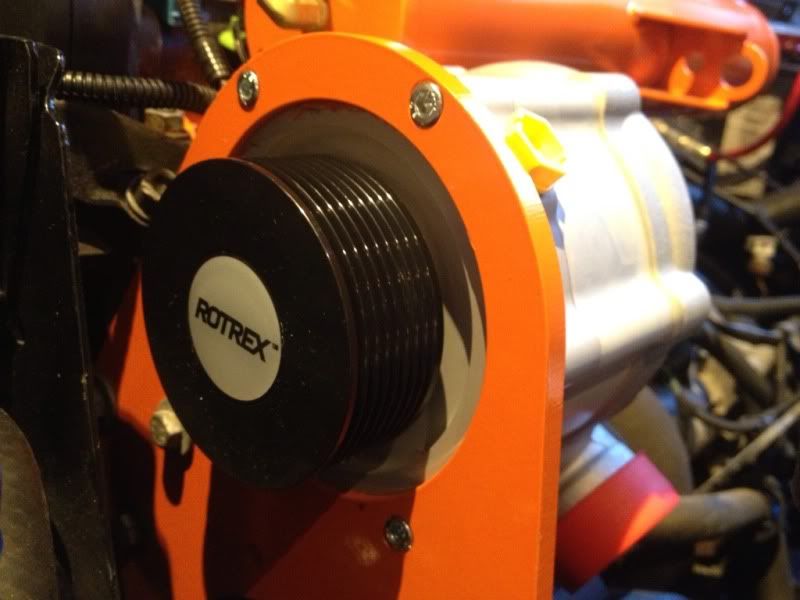
Added the two aux rollers I never had the fixings up until now, pure porn.
Ah they seems to be a little flaw with the left hand drive cars, the throttle cable isn't long enough.
Well cracked on some more.
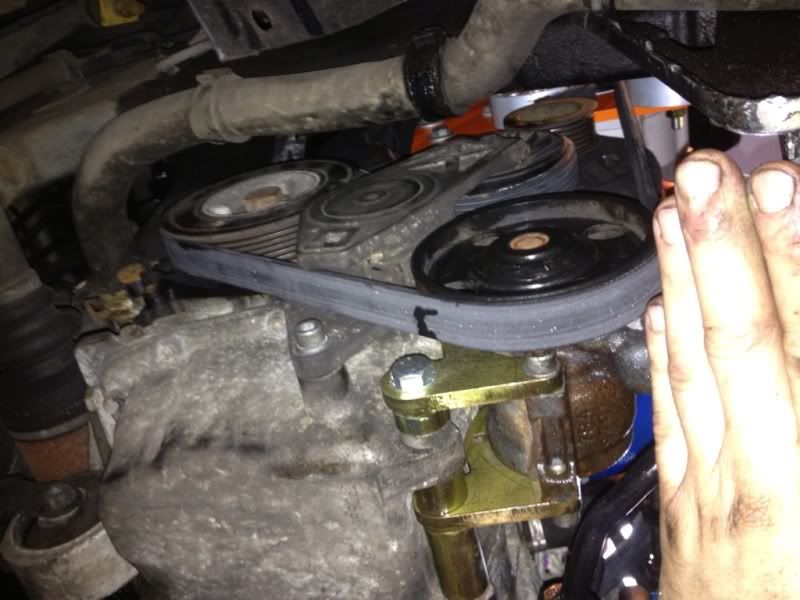
Stripped off all the non required parts around the aux belt and fitted the brackets for the power steering pump-
Got all the brackets all sorted and re routed the power steering pipes to fit
Pump on, had is there to stop glare as the sun (yes the sun) is shining through the top-
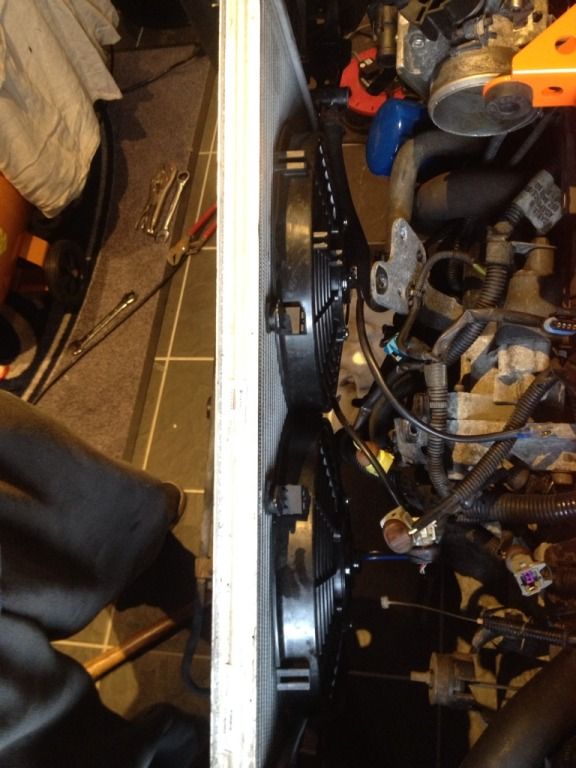
Also fitted the cooling part to the conversion, a pair of slim line fans mounted to the radiator-
Well as I said I have done all the wiring and got all my extra bright boost pipes all sorted  , fitted the engine oil cooler but couldn't finish it off, my oil filter wrench at home isn't manly enough to remove it, f**k its tight, will have to mount the sandwich plate at a later time.
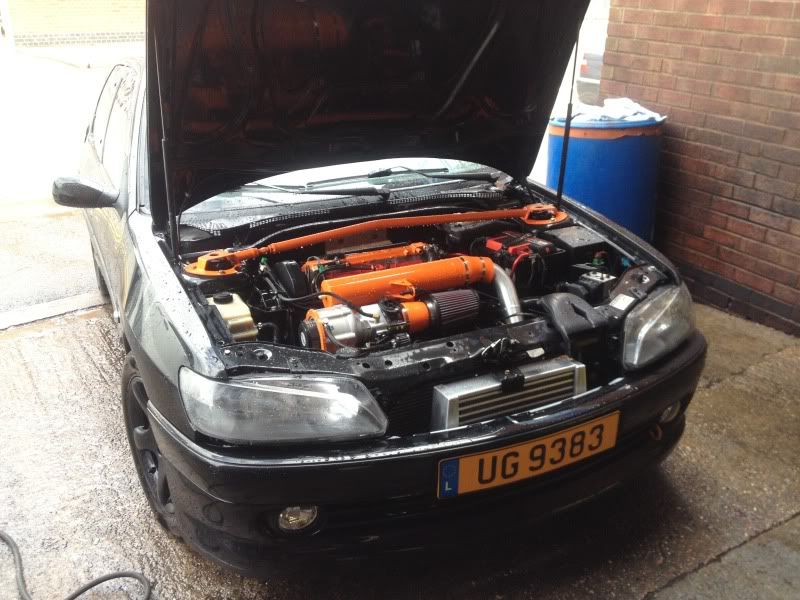
Fitted the adaptor to the throttle housing and then fitted the k&n filter, just looks great.

Fitted the boost pipes around the radiator (these are tight buggers), once in I mocked up the location and cut some boost pipes up to aprroximate length.
With these in place it kinda looks like this-
Just got to trim the pipes to the correct neat length and then fit all the clips and fix the cooler to the car properly, sort all the fluid pipes for the charger, oil lines to the sandwich plate, fit the charger cooler and that's really about it really, oh and fit some new spark plugs
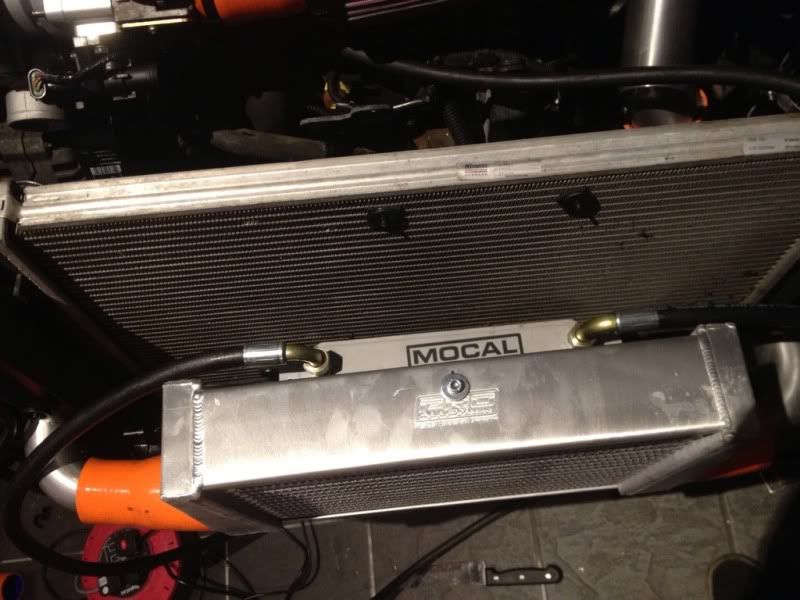
Here's what it looks like behind the cooler, going to fit the charger cooler above the engine oil cooler, need to fab up some brackets.
Well should be back with you soon Marco, best get planning the return trip to collect!
Well I have been playing a lot today, need a new boost hose and she is more or less done engine wise, just need to fit your tail gate and cross off the long list you sent me.
Today's progress, tidied up all the wiring, heat shrinked what was made longer to make it neat and cable tied it up, cut all the boost pipes to length, realised I was a reducer short (hence the blue one), realised the cars fan loom is faulty and requires looking in to (only one fan gets a feed).
Just got to plumb the charger oil circuit, fit a breather filter for the Idle valve, repair the fan loom and fit a reducer in bright orange
Not long now, soon be tearing up the Luxembourg motorways and the ring!
he one you can see is the engine oil cooler, the charger cooler is above it.
Got the last few bits I needed today, cooler graded spark plugs, a few fasteners I required and the orange reducer pipe.
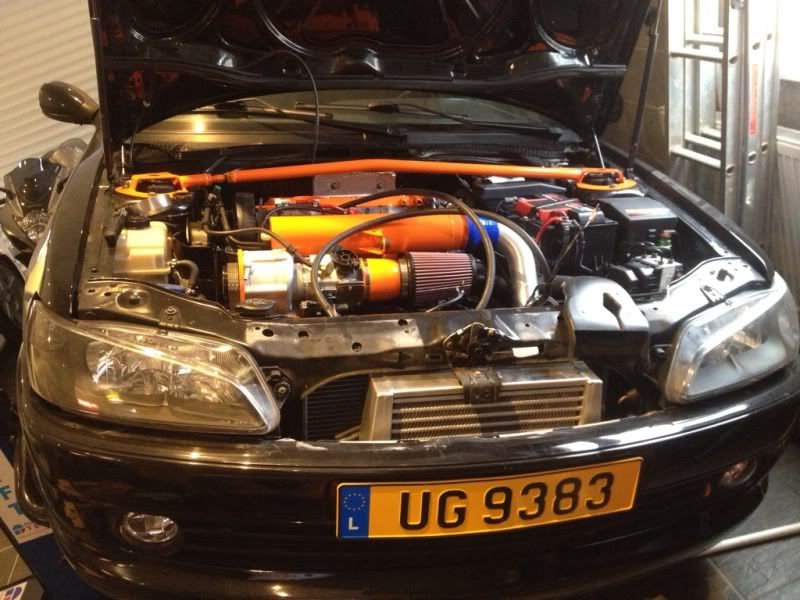
Looks like this now-
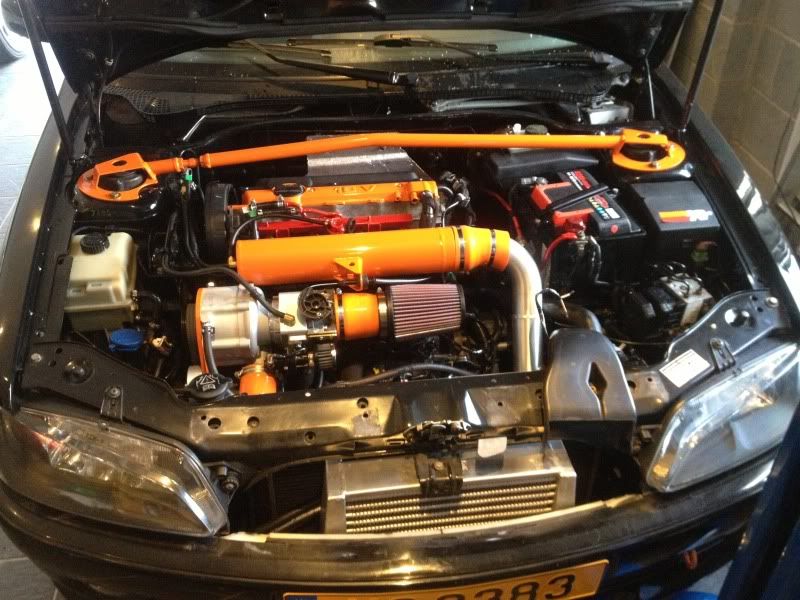
Farty shot-
Well got up at the crack of dawn to pick up a 205, thought it would be best to leave early so I got back in time to pick up my daughter, looks like this 205 is going to help another live on.
Well decided to pull this banger out the garage and give it a bit of a road test, my daughter was pretending to be driving (for the thickos it's lhd) have to say it drives great and we covered a fault free 30 miles.
Fitted the new ph3 tailgate I got from jonnie205 (thanks fella) sorted out the wiring and plumbed in the washer jet pipe work, build up the side panels, job done.
Thought I would wash it down, came up great other than a little bit of over spray from the paint shop doing the wing and bumper (w**kers), got that off and gave it a quick polish.
Few pretty shots-
Not fitted the grill yet as I have a few little bits I need to finish off, just take a look at the wiper blades.......

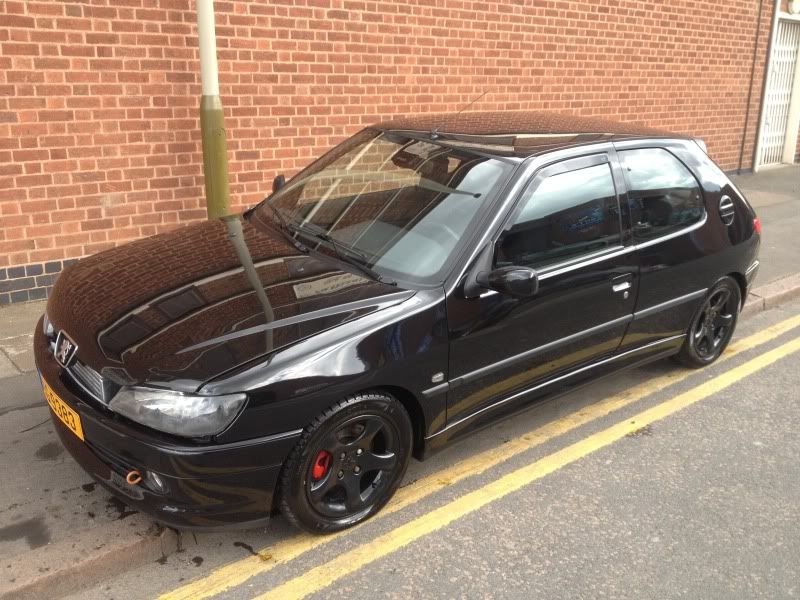
Phase 3 tailgate on, polished this up too-


Remember those wiper arms and how they sat? Well sorted that out, knew there was something a miss, some dick had fitted them the wrong way round, Marco??

Just the axle to go, that will be a work job as they can be a bugger at the best of times.
Dent guy is all over it, mainly down the passenger side. managed to get the monster of a dent out the bonnet so that's good.
in action-

bonnet now dent free, forgot to take a before picture but it was the size of a golf ball (also has a few stone chips-

Don't know why he is wearing a hat, he has long air as well, pufta.
decided to go over all the plastic trim with some dressing and give the car its final wash, first off wash the engine bay, it was a little grubby from power steering fluid and hand prints here and there-
next was the car-
even cleaned the filthy exhaust tail pipe and slicked the tyres.

added a little something-
Still got the rear axle to go.
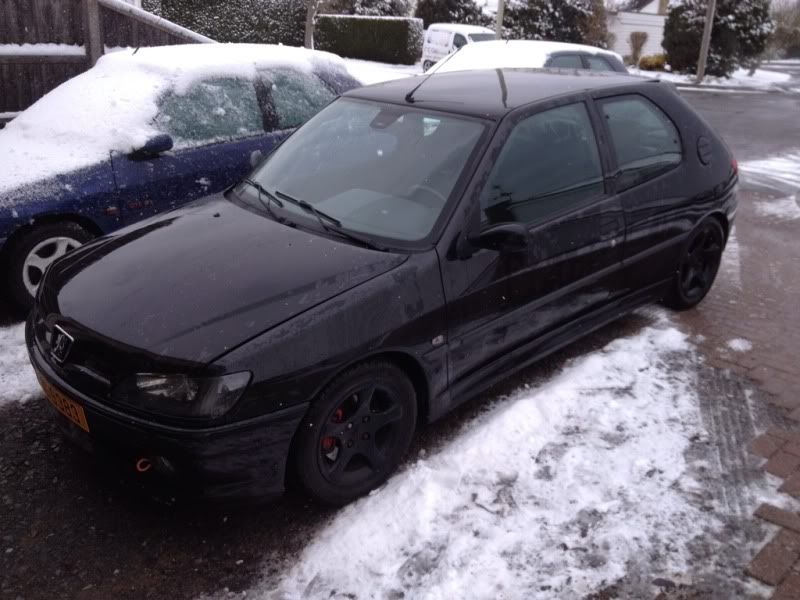
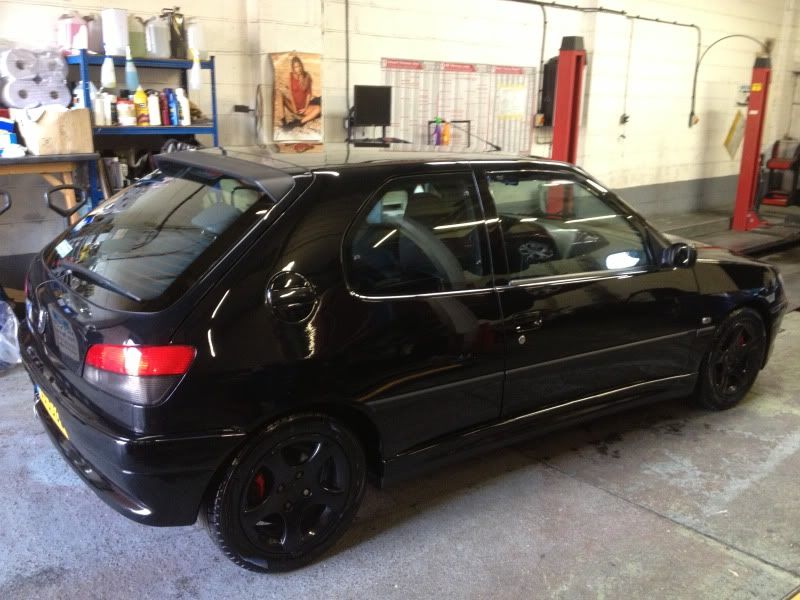
Well had all day on it today cleaning up the odds and sods, mainly fitting the rear torsion bars and the hybrid anti roll bar (small issue with that). got all that sorted and stood back and looked at it and I wasn't happy with the way it looked so decided to break out the machine polisher and give it another go over, if you don't like it now Marco there is no hope for you, one thing I have decided though is black paint shows up everything.
The aftermath (G3 splatter everywhere)-

the finished result, looks a bit better-
Daughter is a little sad to go, she likes it as others think when they see it she is driving.
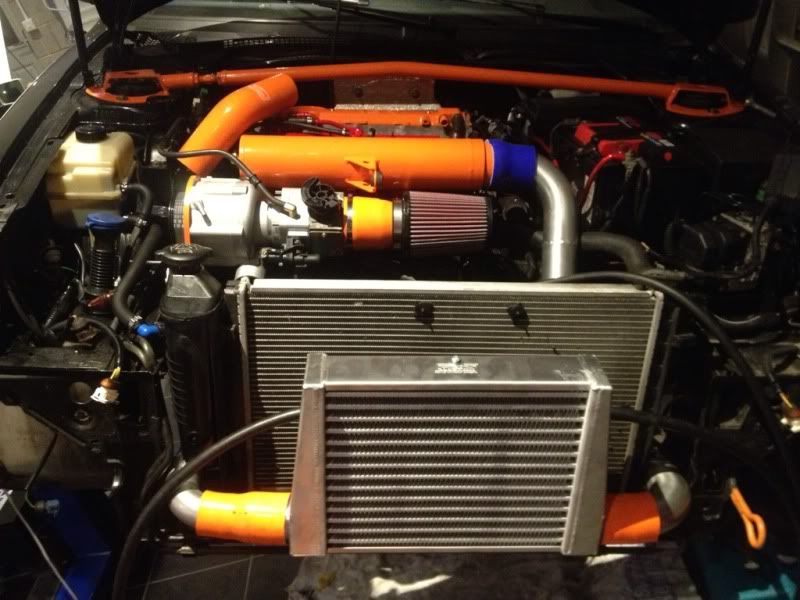
Decided to re jig the coolers around as I wasn't happy with them, this Is the final result-

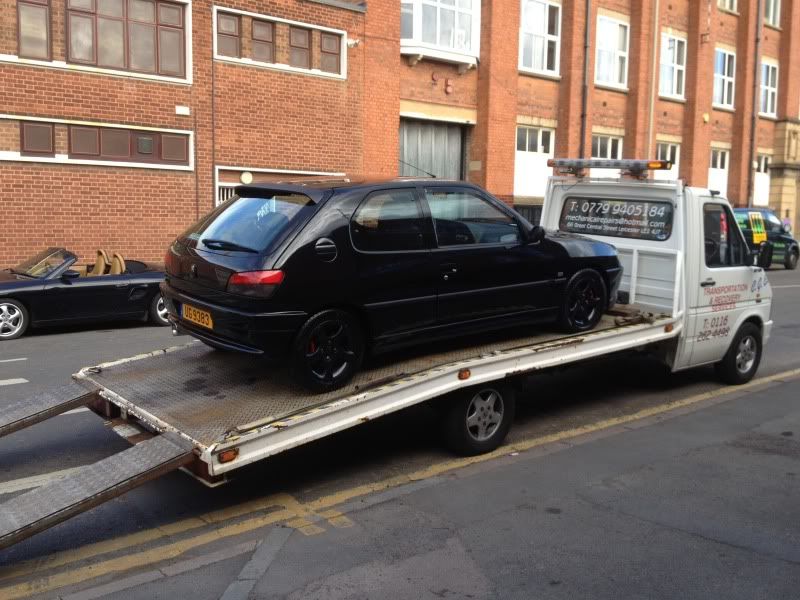
All loaded up and ready to go back, Marco you better look after it.
Nice to see it later in the year flying around the ring. Have to say you have had your monies worth, thanks for bearing with me, this car has seen, rain, snow, sun and even my little boy. i even under sealed it today, that's a nasty job.